Assemblies
In short
One of the benefits of 3D-printing is that you can print parts already assembled. This chapter explains how to design for assemblies.
Finished your design? Make sure to check:
- Separate parts that will be printed together should not be touching. Tolerances are specified below.
- Export your assembly as a multi-body STEP file if you want the parts to be printed together.
- If you are using a multi-body file, make sure the parts remain together throughout printing and post-processing.
- Check if your part needs exit holes for excess powder to be cleaned.
Interlocking parts
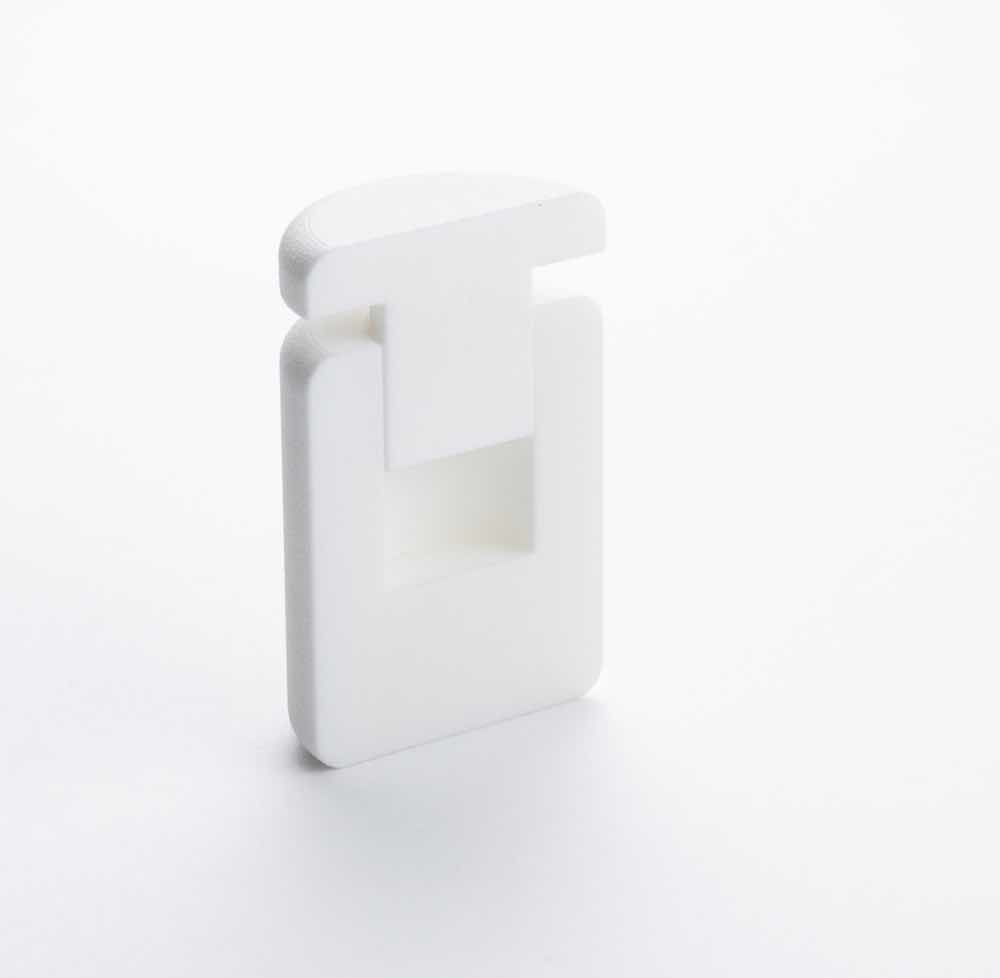
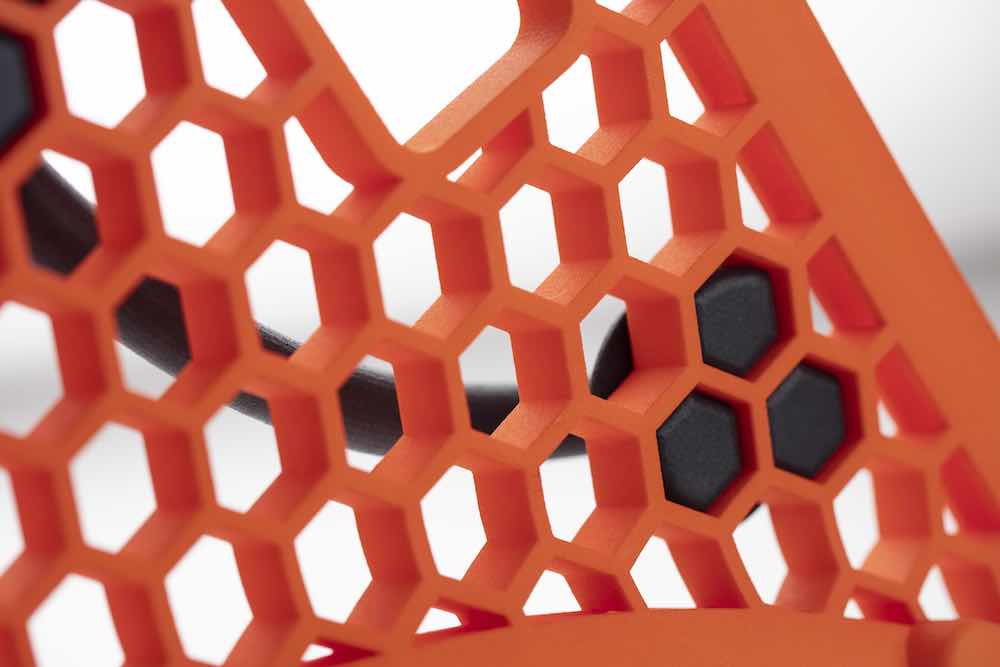
With SLS printing, it is possible to print a part consisting of multiple bodies. For example, a part inside another part. To make sure the bodies do not fuse together during printing, keep a tolerance of 0,4-0,6 mm between the parts. Also include exit holes in your design so the excess powder can be removed after printing.
If you are printing multiple bodies together, make sure they will stay together during the process, to avoid small parts getting lost. You can achieve this by making them interlocking, or by adding a small connection pin or ring that connects the parts. These pins can be removed in post-processing.
Hinges and joints
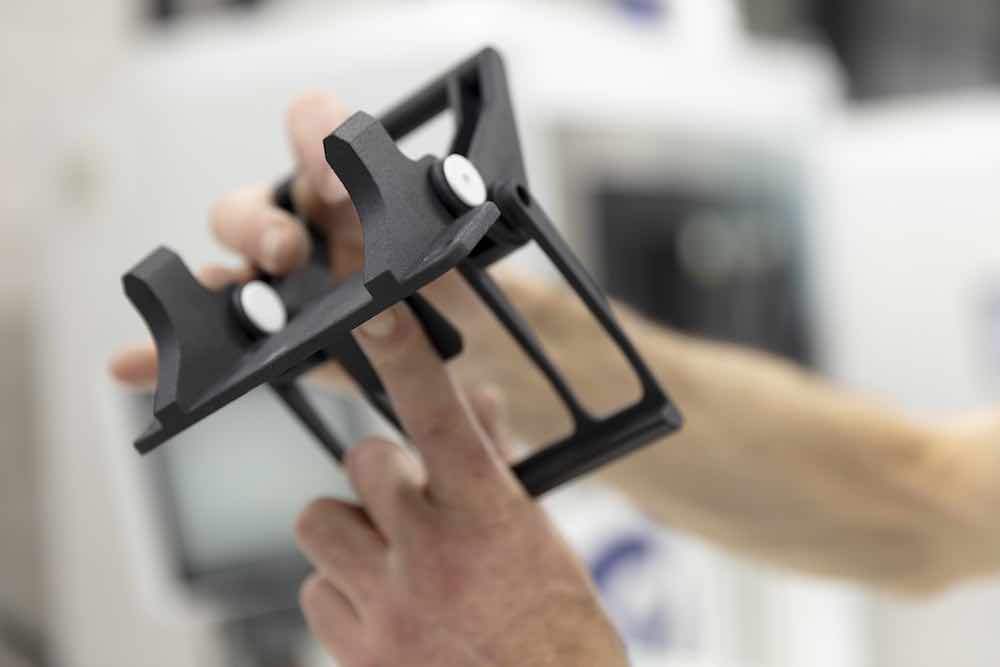
SLS printing gives you the possibility to print moving parts in one print without any assembling. For example, hinges or ball joints.
Shown here are some references for hinges. If you need advice on how to design hinges, please feel free to contact one of our engineers.
Tolerances for hinges
X/Y print direction: 0,4 mm – 0,5 mm
Z print direction: 0,5 mm – 0,6 mm

When designing moving parts, always keep in mind that the parts have to be cleaned after printing. Powder can get trapped between the components of your hinges, so make sure to design exit holes.
Creating living hinges is also possible in SLS printing. However, these hinges require thin walls to function, which means they are very fragile. They will only give you a limited number of hinging movements. We do not recommend printing these types of hinges.
Press fit/loose fit
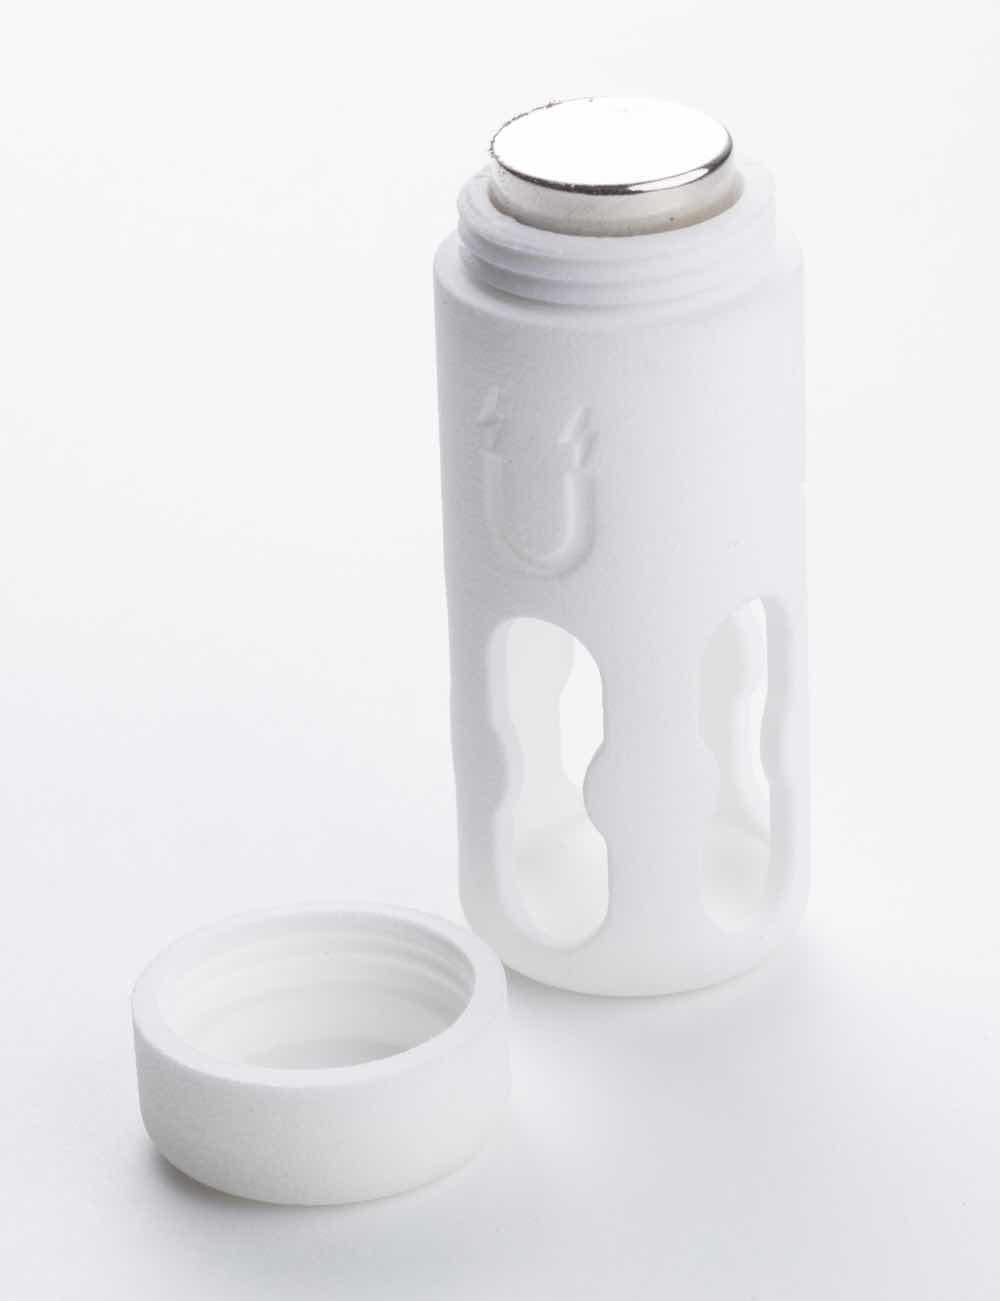
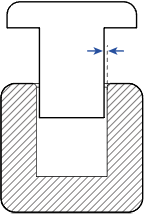
For some constructions it is preferable to print separate parts and assemble them after printing. For example, if you want different colors or require a nice and tight fit. A tolerance of 0,1 mm will get you a tight fit, a tolerance of 0,2 mm will result in a loose fit. When designed with 0,0 mm tolerance you have a slight press fit.
Snap-fit connections
Another popular method of connecting parts is with snap-fits. These connections consist of a snap hook on one part and a cut-out or slot on the other part. When pressing the parts together, the snap hook bends backwards until it locks into place. To ensure the snap-fit is flexible enough, make sure to have a minimum length of 3mm. Also take into account the flexibility of the material you select. PA11 and PA12 are both flexible enough to create snap-fits.
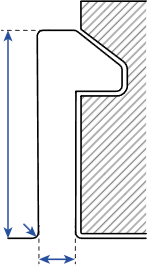
It may take some trial and error to get the stiffness of the hooks just right.
What’s inside our guidlines?
Our guidelines are filled to the brim with useful information on how to design your models, the newest technologies and specifications for your parts!
